How Custom Neon Signs Are Made: Behind the Scenes
From Concept to Glow: The Art of Making LED Neon Signs
Ever wondered how a simple idea becomes a stunning neon sign hanging on your wall? At Lumy Neon, we combine cutting-edge technology with traditional craftsmanship to create signs that are truly one of a kind. Here's a behind-the-scenes look at our production process.
Step 1: Design & Digital Planning
Every project begins with a concept. Whether you send us a sketch, a logo file, or just describe your vision, our design team creates a precise digital mockup. We use specialized CNC software to calculate exact bending paths and milling coordinates, ensuring that every curve and letter is mathematically perfect.
Our design tool considers letter spacing, line height, and the physical properties of neon flex tubing (minimum bend radius of 25mm) to create production-ready blueprints.
Step 2: Acrylic Backboard Preparation
We use premium 8mm cast acrylic for our backboards. The acrylic is precision-cut using CNC milling machines that follow the digital paths generated in Step 1. This creates channels and mounting points specific to each design.
The backboards are available in clear, frosted white, or matte black finishes. Each option creates a different aesthetic effect — clear for a floating look, frosted for a soft diffusion, and black for maximum contrast.
Step 3: LED Neon Flex Bending
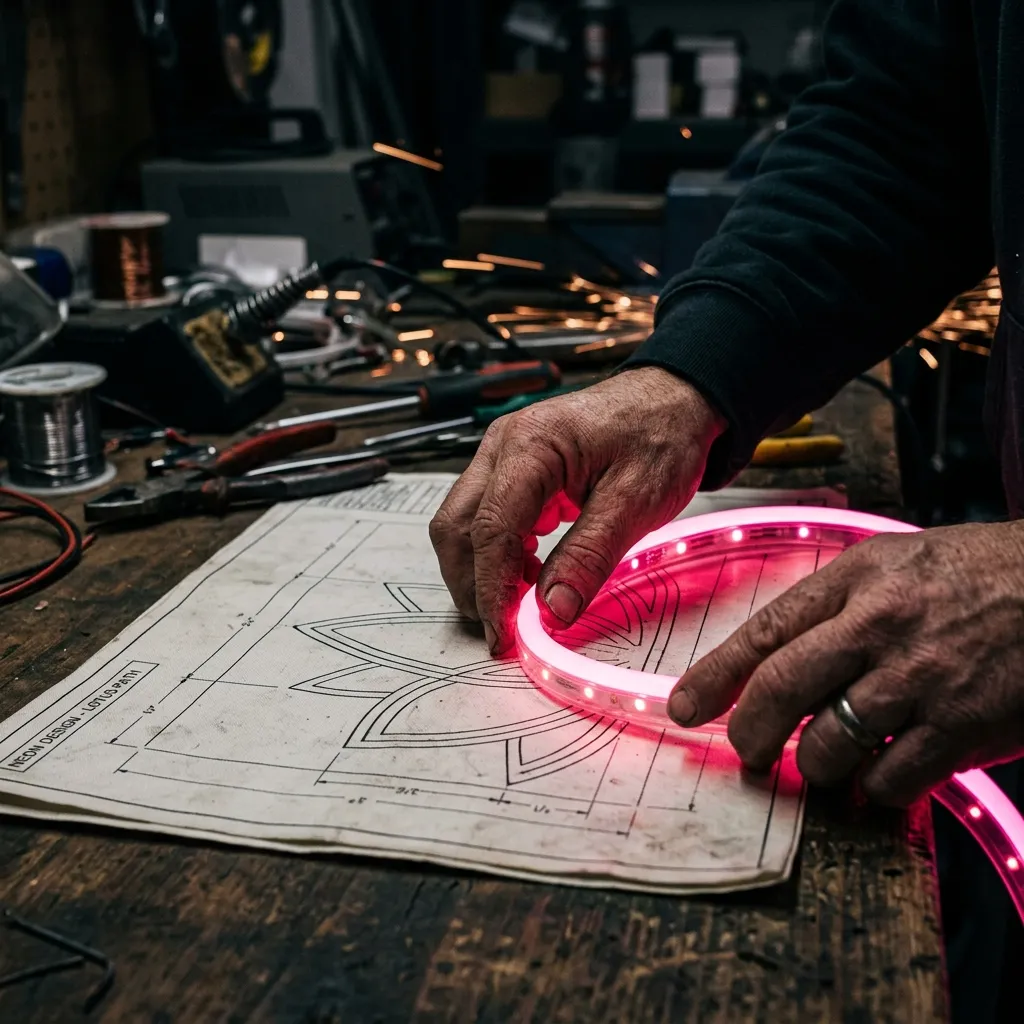
This is where the magic happens. Our skilled artisans hand-bend LED neon flex tubing to match the design template. Unlike traditional glass neon that requires gas filling and high-voltage electrodes, LED neon flex is a solid-state silicone tube containing an LED strip. This makes it:
- Safer: No gas or high voltage
- More durable: Flexible and shatterproof
- Energy efficient: 80% less power than glass neon
Each bend is heated gently to achieve smooth curves without kinking the tubing. This step typically takes 2–4 hours for a standard text sign and up to 8 hours for complex logos.
Step 4: Electrical Wiring
Once the neon flex is shaped, our electricians connect it to a 12V DC power supply. All connections are soldered, heat-shrunk, and secured with silicone sealant for waterproofing. Each sign goes through an electrical safety test before proceeding to the next stage.
Step 5: Mounting & Assembly
The shaped neon flex is carefully mounted to the acrylic backboard using specialized clips and adhesive. We use hidden mounting hardware — standoff pins that create a floating effect when the sign is hung on a wall. This allows the neon to cast a beautiful halo glow on the wall behind it.
Step 6: Quality Control & Testing
Every sign undergoes a rigorous 24-hour burn-in test. We check for:
- Even brightness across all sections
- Consistent color temperature
- Secure mounting points
- Proper dimmer function
- No visible wiring from the front
Only after passing all checks is a sign approved for packaging and shipping.
Step 7: Packaging & Delivery
Each sign is individually wrapped in foam padding, placed in a custom-fit wooden crate, and shipped in a reinforced box. We include a wall mounting kit, power adapter, dimmer with remote control, and detailed installation instructions.
Want to See the Process in Person?
We offer workshop tours by appointment for anyone interested in seeing how their sign is made. Contact us to book a visit to our Kremenchuk workshop!
Ready to Get Your Own Neon Sign?
Design your custom sign with our calculator and get instant pricing.
Try Calculator